> ## Documentation Index
> Fetch the complete documentation index at: https://ui-docs.vibeflow.ai/llms.txt
> Use this file to discover all available pages before exploring further.
# Editor Overview
> Your workspace for building, refining, and publishing UIs with AI
The editor is where your UI comes to life. After generating or cloning a project, you land here with a live preview of your interface and an AI chat to make changes.
 ## Layout
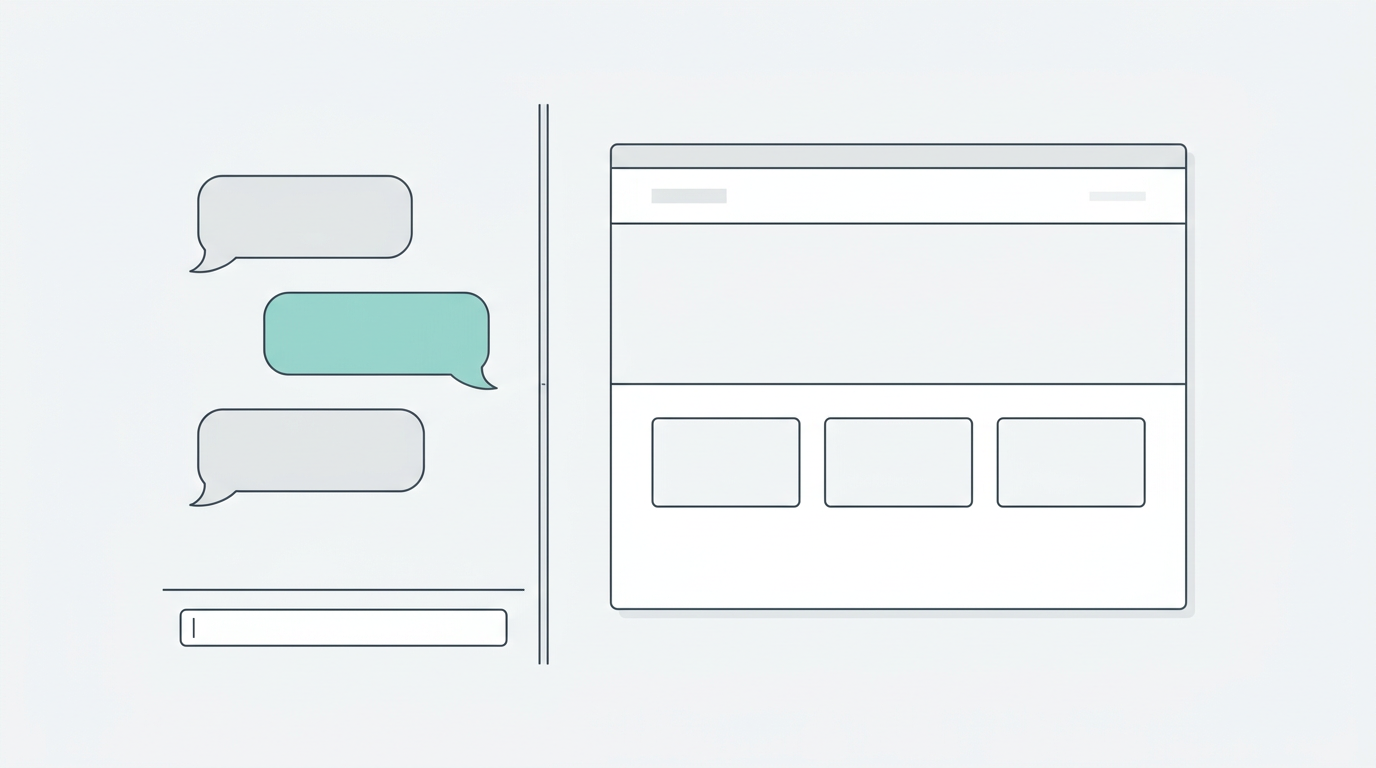
The editor has two main areas:
### Chat Panel (Left)
The AI chat interface where you describe changes in natural language. The AI reads your current code, understands the context, and applies modifications directly.
Key features:
* **Natural language editing** - "Make the header sticky", "Add a dark mode toggle"
* **Style and Design System context** - Apply styles or design systems as context chips
* **Fast mode** - Optimized for quick, focused edits (default for UI projects)
### Preview Panel (Right)
A live, embedded browser rendering your React application in real time. Every change the AI makes is immediately visible.
Key features:
* **Real-time updates** - See changes as they're applied
* **Full interactivity** - Click buttons, fill forms, scroll - it's a real browser
* **Responsive testing** - Resize the panel to test different viewport widths
## Toolbar
The top bar provides quick access to:
| Action | Description |
| ---------------- | ------------------------------------------ |
| **Project name** | Click to rename your project |
| **Publish** | Deploy your UI to a live URL |
| **Share** | Copy a shareable link to your project |
| **Settings** | Access project settings, MCP configuration |
## Getting Started in the Editor
Scroll through the preview to see what was generated. Take note of what you
want to change.
Type a natural language instruction in the chat. Be specific:
* *"Change the hero background to a gradient from indigo-600 to purple-600"*
* *"Add a testimonials section with 3 cards after the features grid"*
* *"Make the navigation responsive with a hamburger menu on mobile"*
The AI applies the change and you see it instantly in the preview. Continue
describing changes until you're satisfied.
Click **Publish** in the top-right to deploy your UI to a live URL.
**Be as specific or as vague as you want.** "Make it look better" works - the
AI will use its judgment. But "Increase the padding to 48px and change the font
to Inter" gets you exactly what you want.
## Layout
The editor has two main areas:
### Chat Panel (Left)
The AI chat interface where you describe changes in natural language. The AI reads your current code, understands the context, and applies modifications directly.
Key features:
* **Natural language editing** - "Make the header sticky", "Add a dark mode toggle"
* **Style and Design System context** - Apply styles or design systems as context chips
* **Fast mode** - Optimized for quick, focused edits (default for UI projects)
### Preview Panel (Right)
A live, embedded browser rendering your React application in real time. Every change the AI makes is immediately visible.
Key features:
* **Real-time updates** - See changes as they're applied
* **Full interactivity** - Click buttons, fill forms, scroll - it's a real browser
* **Responsive testing** - Resize the panel to test different viewport widths
## Toolbar
The top bar provides quick access to:
| Action | Description |
| ---------------- | ------------------------------------------ |
| **Project name** | Click to rename your project |
| **Publish** | Deploy your UI to a live URL |
| **Share** | Copy a shareable link to your project |
| **Settings** | Access project settings, MCP configuration |
## Getting Started in the Editor
Scroll through the preview to see what was generated. Take note of what you
want to change.
Type a natural language instruction in the chat. Be specific:
* *"Change the hero background to a gradient from indigo-600 to purple-600"*
* *"Add a testimonials section with 3 cards after the features grid"*
* *"Make the navigation responsive with a hamburger menu on mobile"*
The AI applies the change and you see it instantly in the preview. Continue
describing changes until you're satisfied.
Click **Publish** in the top-right to deploy your UI to a live URL.
**Be as specific or as vague as you want.** "Make it look better" works - the
AI will use its judgment. But "Increase the padding to 48px and change the font
to Inter" gets you exactly what you want.